
Brussels sprouts have an image problem, and it is entirely the fault of one cooking method. If the only sprouts you have met were boiled, pale green and served in a bowl with a spoon in them, I understand completely. Those were not good. Nobody is arguing.
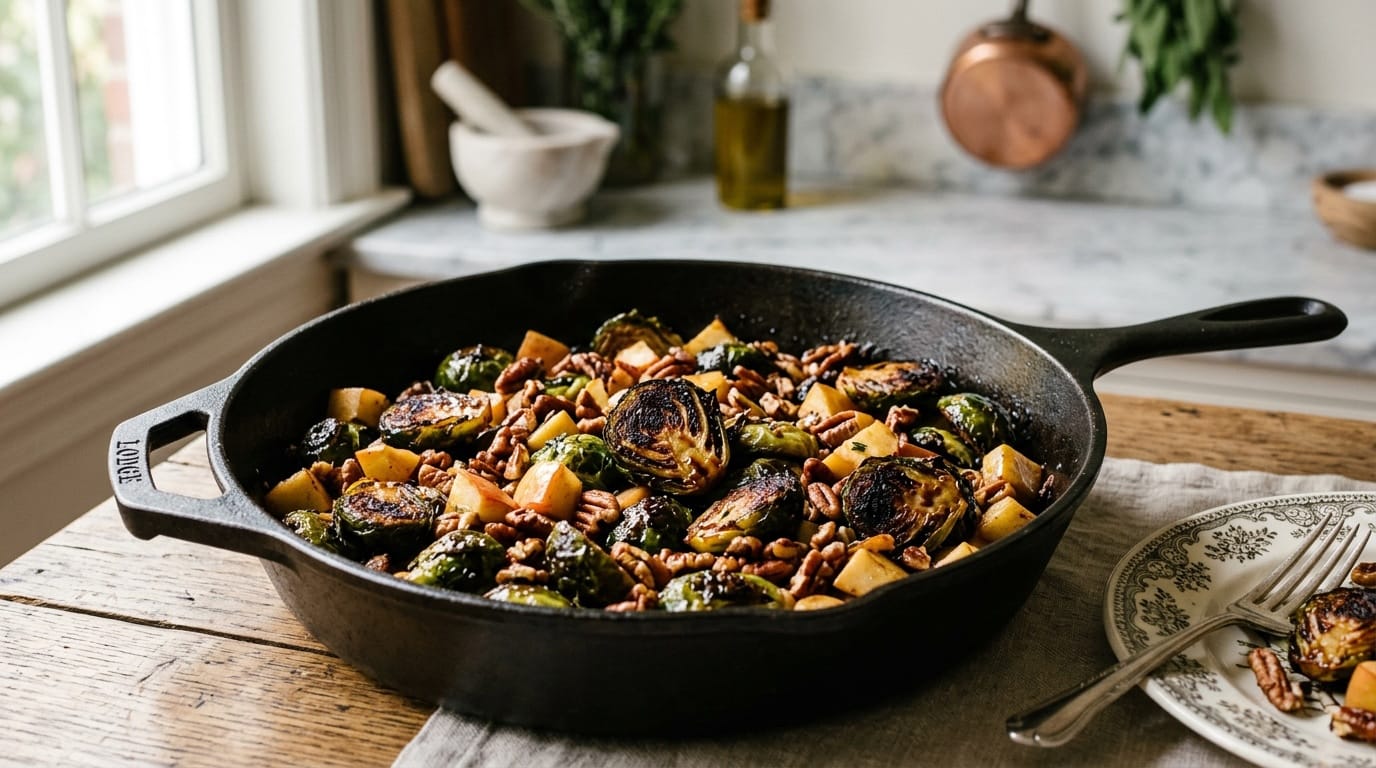
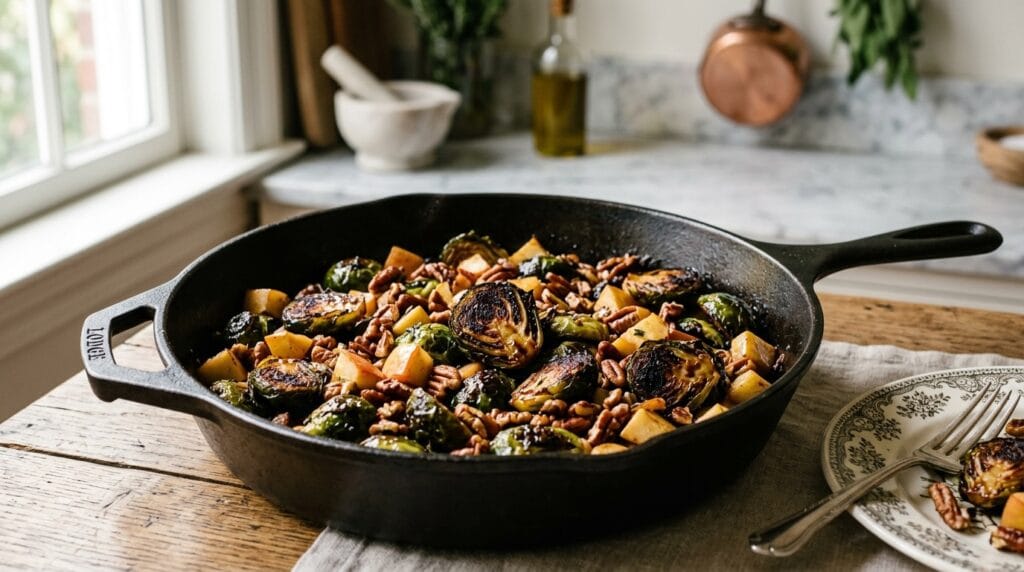
What changed everything is heat. Roast a sprout hard enough that the cut side goes properly brown and the loose outer leaves char to something nearly burnt, and it stops tasting like a vegetable you have to get through. It goes nutty and sweet, and the crisp bits at the edge of the pan get fought over.
Why late October is the moment for them
Brussels sprouts are one of the few things at the market that are genuinely improved by cold. Frost converts some of their starch to sugar, so a sprout picked after the first proper cold snap is sweeter and less aggressively brassy than one picked in September. This is not folklore — it is why sprouts are a late-season crop and why the ones at the market now taste better than the ones in a bag in August.
If you see them still on the stalk, buy them that way. They keep considerably longer attached, they look absurd and wonderful on your counter for a few days, and children find snapping them off deeply satisfying. Otherwise, look for tight, firm, bright heads — loose or yellowing leaves mean they have been sitting.
The apples are the other half of this. Any firm tart variety does the job; ask your apple grower which of theirs holds up to heat, because they will know their own fruit and have opinions about it.
The two things that make or break it
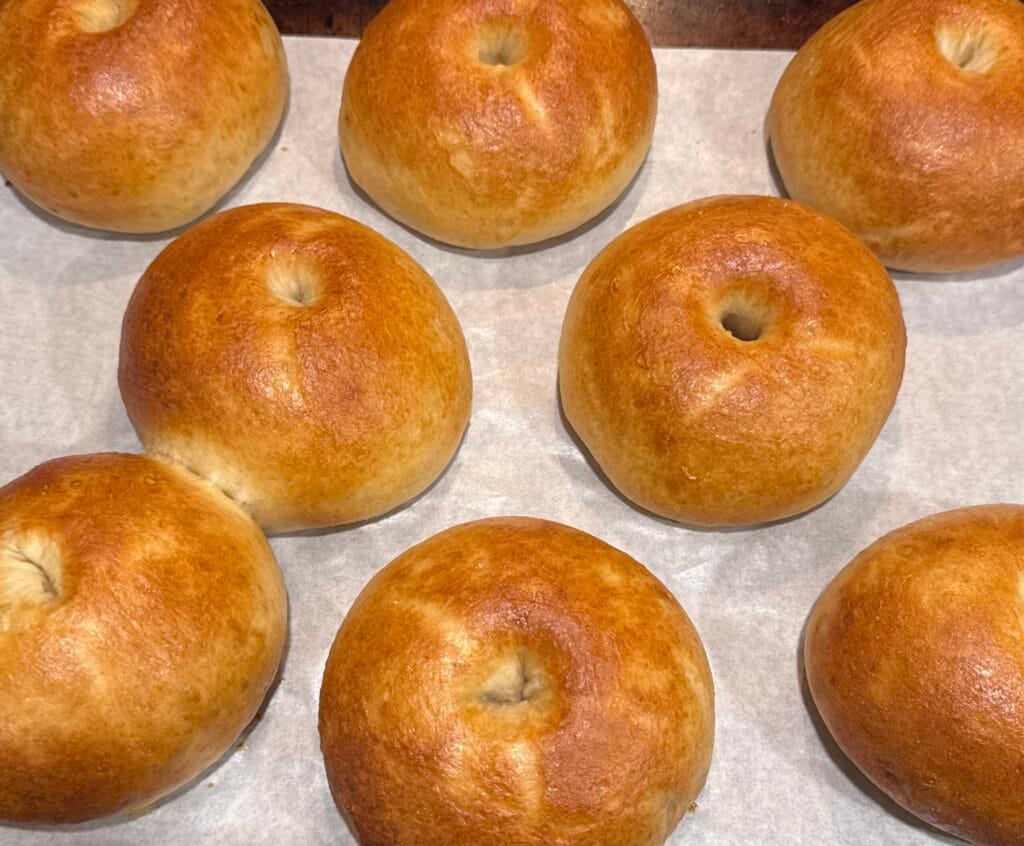
A hot pan, and room on it. Put the sheet pan in the oven while it heats, and tip the sprouts onto it hot. That first contact is what sears the cut face instead of slowly steaming it. And give them space — a crowded pan traps moisture, and moisture is the enemy of everything good here. Two pans is better than one crowded one.
Do not stir them. This is the hard one, because every instinct says to move things around. Leave them cut-side down and untouched for the full twenty minutes. Stirring at the ten-minute mark is how you get sprouts that are evenly mediocre instead of unevenly excellent. The dark ones are not ruined. The dark ones are the point.
The glaze comes together in the pan you toasted the nuts in, in about four minutes, while the sprouts finish. Cider vinegar and maple against all that roasted sweetness is the whole balance of the dish — sharp enough to keep it from going cloying, sweet enough to tie it to the apple.
Make it yours
Change the nut. Walnuts are more bitter and very good here. Hazelnuts are richer. Pecans are having a genuine moment this fall and are the sweetest of the three.
Add something salty and sharp. Blue cheese crumbled over the top while it is warm. Shaved Parmesan. Bacon rendered in the skillet before the shallots go in, which also gives you the fat to cook them in and turns this from a side into dinner.
Make it a holiday dish. It belongs on a Thanksgiving table and it does not need oven space for long. Halve and season the sprouts in the morning, keep them cold, and roast them while the bird rests.
One honest warning: this does not hold. The crisp edges soften within about fifteen minutes of leaving the oven, so make it the last thing and carry it to the table still hot. That is the trade for the texture, and it is worth it.
If you make it, tag @butterandsagemarket — especially if you convert somebody who arrived at the table announcing they hate sprouts. And if the sprouts and the apples came from the same market morning, tell us who grew them. Those are the people worth naming.
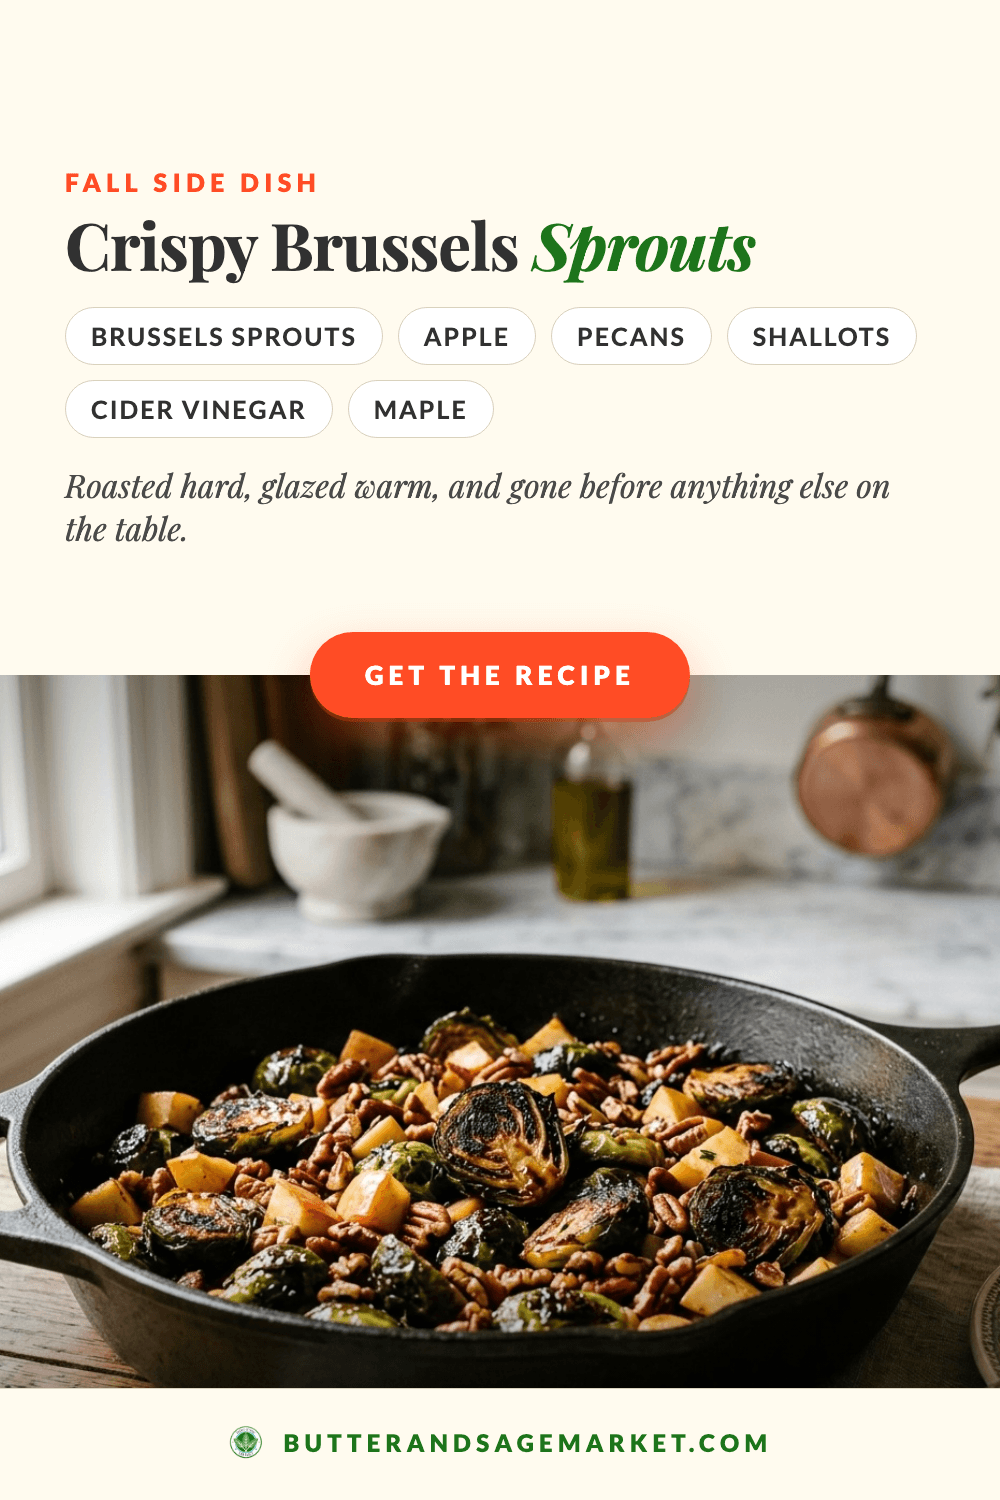
Crispy Brussels Sprouts with Apples, Pecans, and a Cider Glaze
Brussels sprouts roasted hard until the cut sides char, then tossed with crisp apple, toasted pecans and a warm maple-cider vinegar glaze.
Ingredients
Instructions
- Heat the oven to 425°F and put a rimmed sheet pan in while it heats. A preheated pan is what gets you the crisp edge — a cold pan steams the sprouts.
- Toss the halved sprouts with 2 tbsp of the olive oil and 1/2 tsp of the salt. Pull out the hot pan, tip the sprouts on, and arrange them cut-side down in a single layer. Give them room; a crowded pan steams.
- Roast 20 to 25 minutes without stirring, until the cut sides are deeply browned and some of the outer leaves have gone dark and crisp. The nearly-burnt ones are the best ones — do not rescue them early.
- While they roast, toast the pecans in a dry skillet over medium heat for 3 to 4 minutes, until fragrant. Tip them out and set aside.
- In the same skillet, warm the remaining 1 tbsp oil over medium heat. Add the shallots and the remaining 1/2 tsp salt, and cook 3 minutes until soft. Add the diced apple and cook 2 minutes more — you want it warmed through but still with some bite.
- Add the cider vinegar and maple syrup and let it bubble for about a minute, scraping the pan. Take it off the heat and swirl in the butter until the glaze goes glossy.
- Tip the roasted sprouts into the skillet and toss everything together. Add the pecans, plenty of black pepper and a pinch of flaky salt. Serve straight away, while the edges are still crisp.
Notes

Keep reading
More from the market
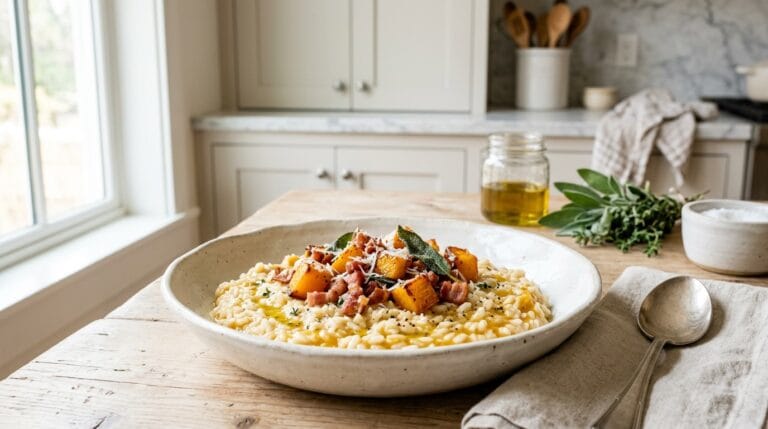
Butternut Squash Risotto with Crispy Pancetta
Half the squash melts into the rice, half stays roasted and whole. The two-texture trick that stops butternut risotto tasting like sweet…
Read more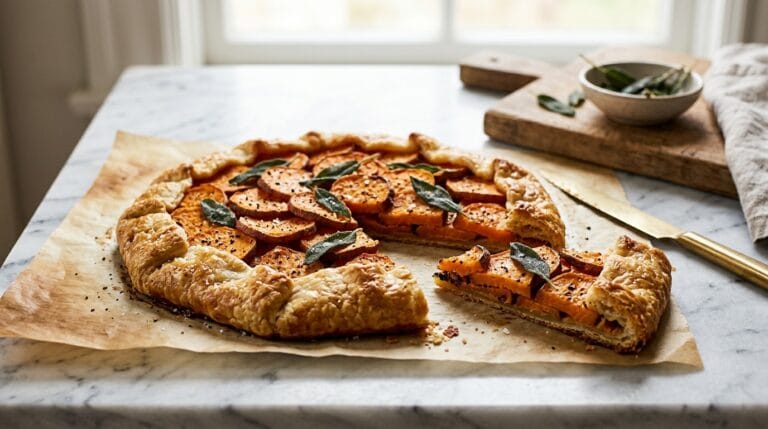
Savory Sweet Potato and Caramelized Onion Galette with Sage
Sweet potatoes, onions cooked down slow, and fried sage on a free-form crust. A savory galette that turns three cheap market vegetables…
Read more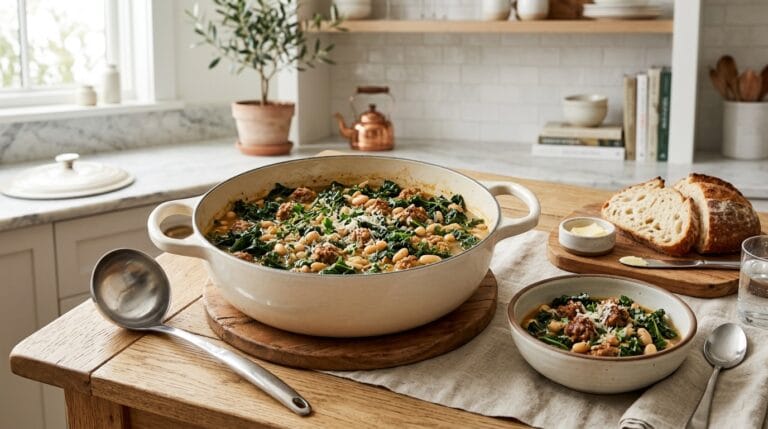
Kale and White Bean Stew with Sausage
One pot and forty minutes. Sausage, creamy white beans and a whole bunch of market kale, with the vinegar trick that stops…
Read more