
How to Preserve Your Farmers Market Haul (Without Losing Your Mind or Your Produce)
Don't let your farmers market haul go to waste. A beginner's guide to quick pickling, small-batch jam, freezing produce, and drying herbs — no canning degree required.
 1 min read
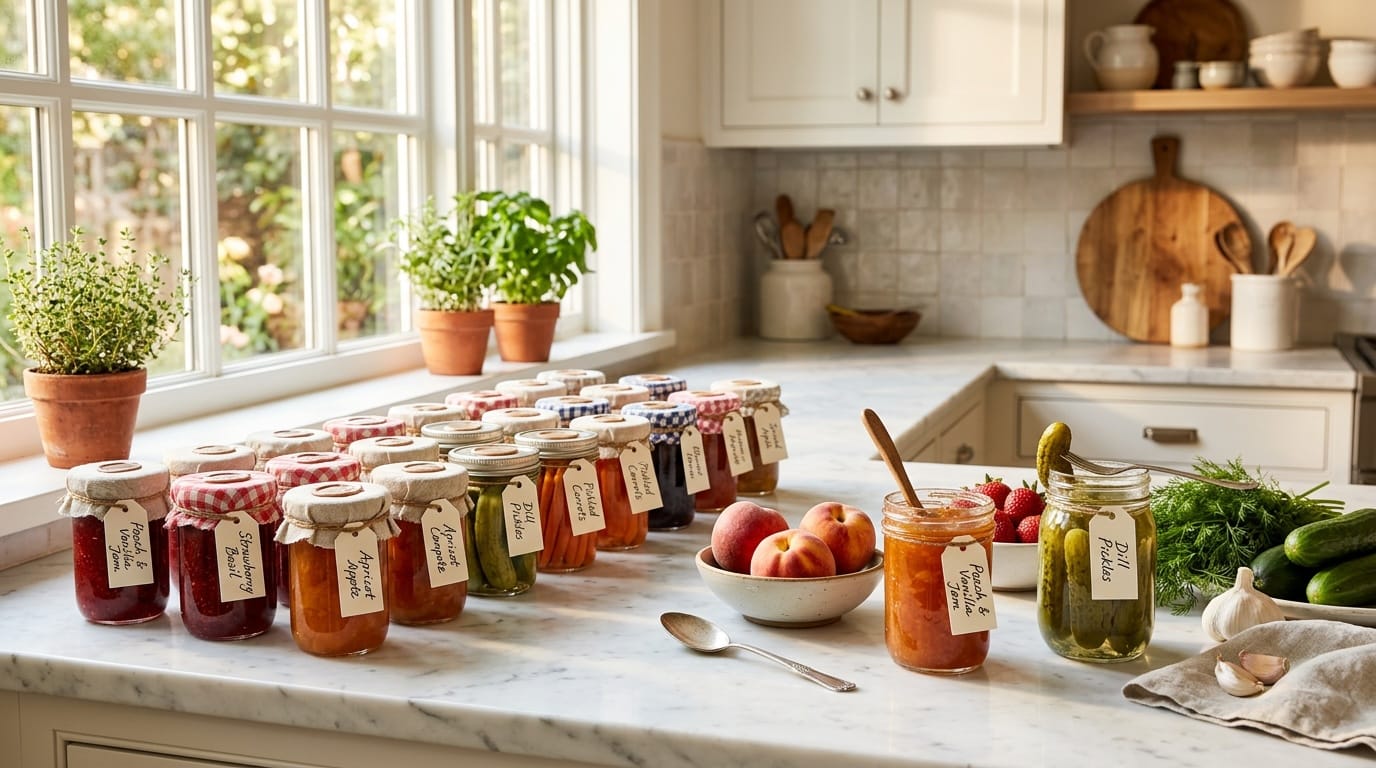
It happens every summer. You walk into the farmers market for one thing — maybe some cherry tomatoes — and walk out with a flat of peaches, three bunches of basil, a quart of shelling beans, and sweet corn so fresh you can smell it through the bag. And then Tuesday rolls around and you are staring at produce that is two days past its best and wondering what happened.
The good news is that preserving your farmers market haul does not require a canning degree or a kitchen full of specialized equipment. Here are four beginner-friendly methods that actually work.
Quick Pickling: The 24-Hour Game Changer
Quick pickling — sometimes called refrigerator pickling — is not water-bath canning. It is faster, simpler, and requires nothing more than a jar, a basic brine, and a little patience. Quick pickles live in the refrigerator and are typically good for three to four weeks.
The basic brine: one cup water, one cup white or apple cider vinegar, one tablespoon salt, one teaspoon sugar. Heat until the salt and sugar dissolve, pour over your prepped vegetables, let cool, lid the jar, and refrigerate. Almost anything works: cucumber slices, radishes, carrot sticks, jalapenos, red onion, green beans, or a mix. Add a garlic clove, some peppercorns, or fresh dill to the jar for complexity. Quick pickles transform market surplus into something you will actually reach for on a Tuesday night.
Freezing: The Fastest Method with the Longest Payoff
Freezing is the most underestimated preservation method. Done right, frozen corn, berries, and blanched vegetables taste significantly better than anything that sat in a can for a year.
The key with most vegetables is blanching first: drop them in boiling water for two to three minutes, then immediately into an ice bath. This stops enzyme activity that causes texture and flavor loss in the freezer. Corn, green beans, peas, and broccoli all benefit from blanching before freezing. Berries and stone fruit go straight into the freezer — but spread them on a baking sheet first so they freeze individually before you bag them. That way you get loose frozen fruit instead of one solid boulder. Fresh herbs freeze beautifully in ice cube trays covered in olive oil or water. Pull out a cube whenever a recipe calls for fresh herbs.
Small-Batch Refrigerator Jam: Easier Than You Think
Full water-bath canning is worth learning eventually, but it is not a prerequisite for making jam. Small-batch refrigerator jam — typically one to two pounds of fruit at a time — skips sterilization and processing entirely, stays good in the refrigerator for three weeks, and takes about thirty minutes from start to finish.
High-pectin fruits like citrus, apples, and berries do not even require added pectin. Just fruit, sugar at roughly half the weight of the fruit, and a squeeze of lemon juice. Cook over medium-high heat, stir frequently, and test for set by placing a small spoonful on a cold plate — it should wrinkle when you push it. Done. For low-pectin fruits like peaches or cherries, add a grated apple for natural pectin, or use a commercial pectin for a more reliable result.
Drying Herbs: The Simplest Method of All
Fresh herb bundles at the farmers market are often inexpensive and enormous. Dry what you cannot use in the next week and you will have homemade dried herbs all winter. Tie stems together loosely and hang upside down in a warm, dry spot with good airflow for one to two weeks. The oven method is faster: spread herbs in a single layer on a baking sheet and dry at your lowest oven temperature — around 170 to 200 degrees — for one to three hours, checking every thirty minutes. Herbs are done when they crumble between your fingers.
Label everything with the date and the herb name. Yes, even if you are sure you will remember. You will not remember.
The Rule That Makes All of This Work
Do not let perfect be the enemy of preserved. A jar of quick pickles you eat over two weeks is infinitely better than a flat of cucumbers that went soft while you were looking for the perfect recipe. Preservation is about the habit of doing something with what you have while it is still good. Start with one method this week. Your future self will be very happy you did.

Keep reading
More from the market
How to Make Stock from Your Market Scraps (The Free Ingredient in Your Freezer)
A bag in the freezer, filled with onion ends and carrot tops, becomes the best ingredient in your kitchen for free. What…
Read more
How to Roast Any Vegetable (One Method, Your Whole Market Haul)
One temperature, one pan, three rules that decide everything. Timings for the whole fall market table, and the crowding mistake that steams…
Read more
How to Grill Summer Vegetables (Eggplant, Zucchini, Peppers & More)
Grilling turns a farmers market vegetable haul into the best part of dinner. Here's how to grill eggplant, zucchini, peppers, and onions…
Read more